RTA cabinets have become popular among homeowners who are looking to balance cost, quality and style. But are they the right option for your DIY kitchen cabinet installation? This guide will help you understand what RTA cabinets are and the step-by-step essentials for installing them like a seasoned pro.
What Are RTA Cabinets?
RTA cabinets are provided in boxes containing all the parts needed to assemble the cabinet together, including accessories and hardware. Unlike pre-assembled cabinets, the assembly of these is required at home, and they are an economical workaround for those enthusiasts who like a bit of DIY.
Why Do DIYers Use RTA Cabinets?
Below are the reasons why DIYers use RTA cabinets:
1. Budget-Friendly
The price is the most attractive attribute of RTA cabinets. They are less expensive to manufacture and ship in a disassembled form. It can save you 30-50% on your cabinet budget when compared with custom or pre-assembled cabinets. If you are working on a wholesale kitchen renovation, the savings can be large.
2. Easy to Transport and Store
Because RTA cabinets arrive in flat boxes, it’s easier to maneuver them through hallways, up stairwells or narrow doorways. You can even keep them stacked neatly until you need to use them and they are less bulky than pre-assembled units.
3. Ideal for DIY Cabinet Assembly
DIYers love RTA cabinets. Assembly typically requires standard household tools such as a screwdriver, drill, clamps, and wood glue. The directions are very user-friendly, and once you get the hang of it, most homeowners can build a cabinet in 15-30 minutes.
4. Wide Range of Designs
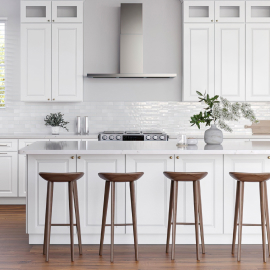
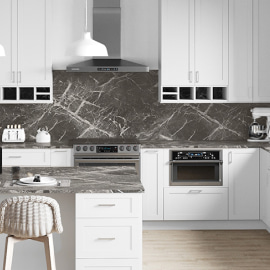
Whether you prefer shaker white or rustic oak, there are RTA cabinets that come in every kitchen aesthetic. Lots of brands sell add-ons like pull-out trays, spice racks, and soft-close drawer upgrades.
Are RTA Cabinets Right For You?
The decision of selecting the RTA cabinets can be based on your taste and budget!
They are right for you if:
- You are handy with assembling everything yourself.
- You’re interested in spending as little as possible on your kitchen renovation.
- You can take the time to put in cabinets.
- You are looking for a solution that can be adapted easily to different styles and layouts.
They aren’t right if:
- You don’t like to work with tools or measure things precisely.
- You’ve got walls or floors that are uneven and need a carpenter fix.
- You have custom layouts to build or cabinets with unique shapes.
How to Install RTA Cabinets?
If you’re handy enough to tackle a DIY kitchen cabinet installation project, here is an outline of how to install RTA cabinets in only a few steps.
Step 1: Make Some Space
Before installing anything:
- Remove old cabinets
- Patch holes
- Look for plumbing and electrical hurdles
- Even the floor and walls, if necessary
Step 2: Cabinets Installation
Common assembly steps include:
- Connecting panels using cam locks
- Screwing frames together
- Installing drawer glides
- Attaching hinges to doors
- Try to be organized and build one cabinet at a time
Step 3: Mark the Layout
Mark the wall with a pencil and a level where the cabinets will rest. Start with:
- The floor's high point
- Base cabinets need a line too
- Accurate measuring is essential
Step 4: Hang the Top Cabinets
- Always hang your upper (TOP) cabinets first, so you don’t have to pick them up during install
- This will keep you from working over the lower cabinets later
- Attach a temporary ledger board to the wall to support cabinets while installing them
- Screw each cabinet into the wall studs with 2–3-inch screws
- Clamp the cabinets that sit next to each other and screw them through the face frame
Step 5: Install Base Cabinets
- Move the base cabinets over the lines
- Use shims when necessary to level the cabinets
- Screw cabinets (not the fronts) to stud walls
- Clamp and connect neighboring cabinets
- After base units are tightened down, add drawer fronts, doors, and shelves
Step 6: Install Countertops and Hardware
After cabinets are in place:
- Install your countertop, handles, knobs and soft-close hardware
- Put the finishing touches on drawer alignment
And there you have it; your RTA kitchen is installed!
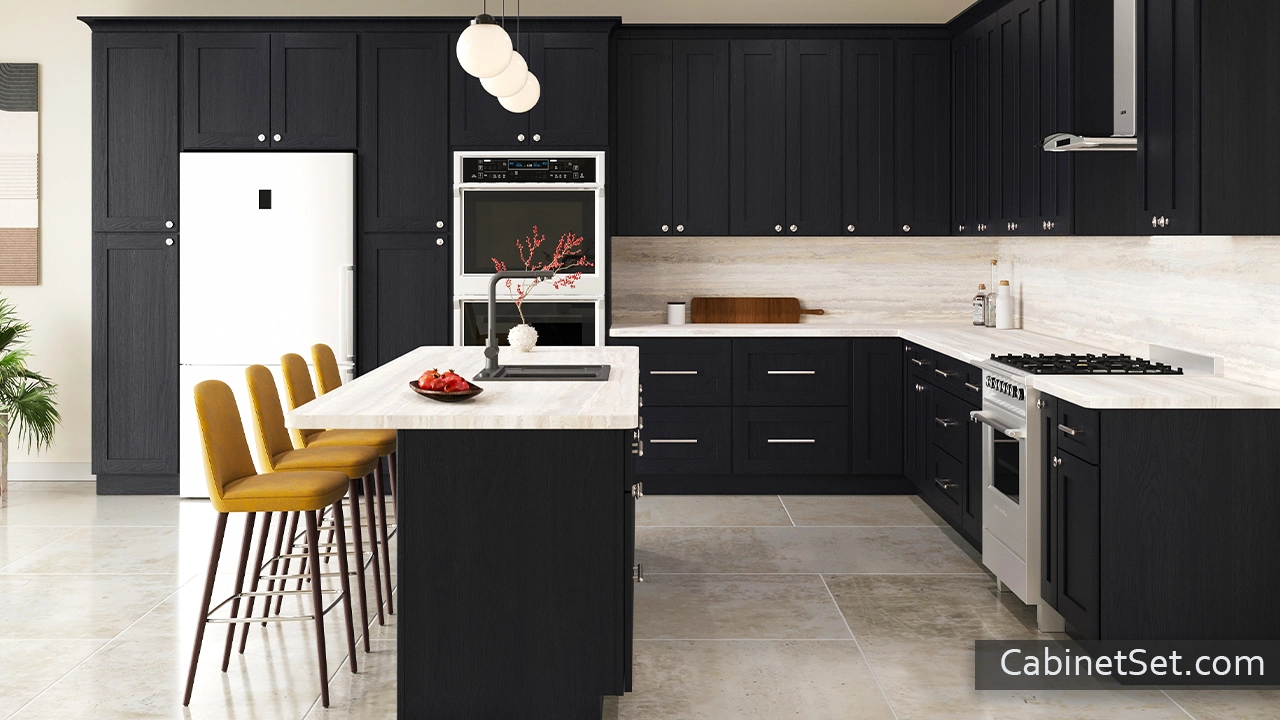
RTA cabinets deliver great value as well as a modern look customized to your preference. They are an ideal option for the majority of homeowners who want to take on a DIY kitchen cabinet installation. You don’t need to be a professional to install these cabinets. You just have to follow a few simple steps for kitchen remodeling with ready-to-assemble cabinets. If you want flexibility, maximum savings, and hands-on involvement, then these cabinets are definitely for you.